How To Make Facts Thumbnail Like FactStar
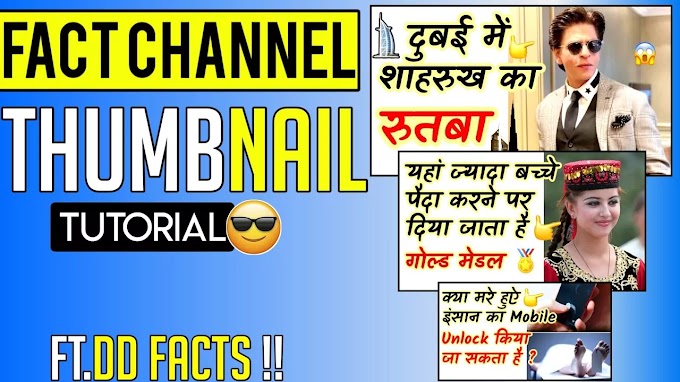
Hello friends, Do you want to make Thumbnail like FactStar, then this post will help you a lot in making Thumbnail like FactStar.
if you work as a creator on Youtube, then you will know how important a thumbnail is to get views on Youtube.
Thumbanail works as an effective form of YouTube. Your thumbnail works to increase the CTR of your channel. And as much as the CTR of your channel is high, the growth of your channel is also similar.
Here you are going to get thumbnail related to only FactStar. Anyway if you also want to make a fact channel like him a thumbnail then So you need three things for this. But yes Don't kill the whole copy for this you own something Make sure to use Creativity.
Download all of these emoji, Shadow, Font given link.
Emoji Download link
https://in.pinterest.com/pin/38315788...
Shadow Download link
https://www.mediafire.com/file/cwnyct...
Font Download link
https://www.ffonts.net/Poppins-Black....
So friends, these four things should come to make you thumbnail like factstar
- BORDER
- SHADOW
- STRIP
- Emoji
Using all these things, you can make thumbnail like fact star. So let's learn.
Note: Apart from these three, you must have a photo related to the topic.
If you follow all the steps given here, then only you will be able to make thumbnail like factstar.If you follow all the steps given here, then only you will be able to make thumbnail like factstar. So look at the steps carefully and follow.
First you must have pixellab. If not, you can download it from play store. After downloading pixellab.
1. First of all open pixellab.
2. Select
New text then
delete it.
3.
Click on the top
three dot on the
right side then
Click on use
image from gallery.
4. After
selecting the photo from the
gallery,
select the
16:9 ratio.
5. After selecting 16:9 ratio, click on right button given below as photo.
6.
Click on the
third icon from the bottom as shown in the photo. Now we will make the border.
7. After
click on shape as shown in the photo.
8. here you can see square ⬜ shape. feel the whole border as shown in the photo.
9. After That You will do
Opacity Zero (0) as shown in the photo.
10.
Keep the
Stroke Width at
15%. You can keep your own as well.
11.
Select the
color of the
border. As we have chosen orange.
12.
Click on Layer. as shown in the photo
13.
After clicking on the layer,
lock it by clicking on the lock icon. As shown in the photo.
Here your border work is completed. Now we will make a Strip.
14.
Click on Shape to create a Strip. As shown in photo.
15.
Make the
shape as
shown in the
photos.
16. Adjust It and choose the color of it. As shown in photo.
17. After That
Click on Shape. As shown in photo.
18. You have to
Adjust the
square. As shown in photo.
19. Click on Layer Section and
click on the icon As
shown in
photo.
20.
Select All of them and click on third icon of As shown in photo.
21. Here you will
click on ok As shown in photo.
22. After That You will
click on
erase image As shown in photo.
23. Here will
see the
square is now
erased.
24. Here you
Adjust the Strip As shown in photo.
25. Click on Layer Section.
Lock The
Strip and
border As shown in photo.
26. After That You
click on
import icon As shown in photo for getting shadow.
27. Here you
select your black
shadow from the gallery As shown in photo.
28. Now you can
see the
shadow is
visible to the artboard As shown in photo.
29. After That You
click on
Layer Section As shown in photo.
30. you
lower the shadow layer As shown in photo.
31. Now you will
see that the
shadow layer has gone
behind the
strip and the border. As shown in photo.
32. After That You click on Layer Section and
lock the shadow layer. As shown in photo.
33. Here you
click on the plus (+) icon. As shown in photo.
34.
Click on
edit icon and write your topic related word like I wrote "दुनिया की सबसे" As shown in photo.
35. After That
Adjust the text As shown in photo.
36.
Click on Font to secting your font As shown in photo.
37.
Select Your
font like I select Popins-Black As shown in photo.
38. After That You
click on color for giving the text color As shown in photo.
39. Here you
choose the
text you want to
color of it. I select Yellow color As shown in photo.
40. Here you Click on Stroke As shown in photo.
41. After That You click on
Enable and you will see Stroke is now apply on the text As shown in photo.
42. Here you
Copy the selected text As shown in photo.
43.
Click on
edit icon for
writing new
different text As shown in photo.
44. Here
you will
see I wrote "महंगी कार" As shown in photo.
45. After That You
Adjust the
Text on the
Strip As shown in photo.
46. Now you
click on Color icon for giving text color As shown in photo.
47.
Choose the text you want colour of it. Like I Choosed "मंहगी" As shown in photo.
48. Here
I Choosed Yellow color for the text As shown in photo. You choose own creativity.
49. Here you will see the text
color is now Yellow As shown in photo.
50. After That You
Copy the Text for new different text As shown in photo.
51. Now you
Write own text like I Wrote "200 करोड़" As shown in photo.
52. Adjust The
Text below the strip As shown in photo.
53. Here you can our thumbanail is now became ready As shown in photo. Now all you need is a Shocking Imoji, so let's put it.
54.
Click on the
Imort section to bring up the emoji As shown in photo.
55. Here you
select the shocking
imoji from the gallery As shown in photo.
56. After That
Adjust the emoji and if
you want to
give stroke for good looking it's depends own your creativity As shown in photo.
56. Now Friends our
Thumbnail is Ready.
57. Now it's time to save it. Click on
save button to save. As shown in photo.
58. Here you
click on "
save as image" As shown in photo.
59. Now here you select
formate jpg and
diamantion very high as you want. In the last you click on save to gallary.
Now Your Thumbnail is saved to your gallary
When you
follow all these
steps, then your
thumbnail will also be ready like
FactStar. Hope you liked this post.
Friends, a
lot of hard work has gone into making this post. So please tell how did you like this post, definitely give your
opinion in the comment box. Make sure to
subscribe to us so that you do not miss the
notification of a single post.
You May Also Read


.jpg)


please don't span in comments