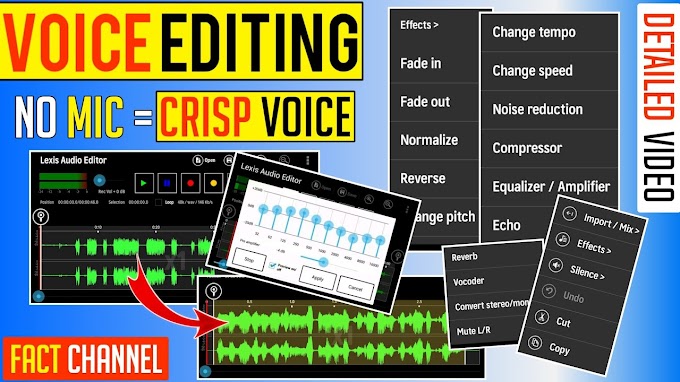
How To Edit Your Voice On Audacity : 5 Quick Tips (Beef Up Your Voice 🗣️)
Hello guys welcome
to Our new Article. Our today's Article is most important for All YouTuber’s who are making voiceover content especially
fact videos. So in today’s
article we are going to talk about your voice – That how you can make your
sound better through the most used voice editing app AUDACITY on your PC/Laptop.
I am dividing
this article into 2 parts
- Voiceover
- Voice Editing
⮞ Using this article you can make your voice
Crisp, Deep and Attractive.
Voiceover Tips :
1. If you have a condenser microphone
- If you have mic – Plug in to your pc - & record your audio in audacity
- Click on red coloured record icon on audacity – And start recording
But most of the creators don’t have a proper condenser
microphone
2. So in that case if you don’t have a microphone
- You’ve to record your voice on your phone – Then sent it to your PC/Laptop for editing in Audacity
- Which recorder you’ve to use : Use your default recorder which comes with your phone
- Take gaps – While recording your audio, Record your voice in multiple rounds
Voice Editing Tips :
- See for voice editing : You’ve to take 5 Quick Steps for making your voice professional
Step No 1 : Remove Noise From Your Audio
- Select 1 Empty space – Click on effects – Click on Get noise profile – Select Repeat noise reduction
- By doing this – You can easily remove noise from your track
Step No 2 : Cut Unwanted Parts From The Track
- Select the empty spaces where there is a silence (no audio) - Click on cut or press the shortcut key on your keyboard (CTRL + X)
- By doing this – You will end up with a proper audio track where there is no silence
- Step 1 & 2 – This are the basics
- Step 3, 4, 5 – Is the most crucial step for making your
audio a banger
Step 3 : Adding Effects On Your Voice
In step 3 – You have to do 3 things
- Select the whole audio track – Click on effects – Go to Filter Curve EQ – Then click on Manage – And lastly click on Factory Presets
- Then apply all these 3 effects
1. Bass Boost
2. Treble Boost
3. Low Roll Off For Speech
- By doing this – Your voice is almost edited, now your voice has a proper bass, treble and clear vocals.
Step 4 : Add Compressor To Your Voice
- Select the whole track – Click on effects – Select Compressor
- By choosing compressor – Your voice will gain a proper loudness
Step 5 : Add Normalizer To Your Voice
- Select the whole track – Click on effects – Select Normalize
- By choosing Normalizer – Now your voice has a balance audio level
Use all these 5 Quick Tips – Add it your audio and check it
Before adding these 5 Quick Tips & After applying these
5 Quick Tips : Definitely you are going to shock after adding these 5 tips to
your audio
Need PDF Notes ? (password - given in the video)
I hope
you like our Article about Voiceover & Voice Editing In AUDACITY. If you
follow all our tips or steps then definitely your audio quality is going to
upgrade, and your videos will start going viral on YouTube as the viewers will
get quality & value from your video. If you really like our article then
share this with your friends and have any query, Put the Comment below!!


please don't span in comments